
Steps 1. Download and install xampp
In your web browser, go to http://www.apachefriends.org/en/xampp.html


Click on the download link for XAMPP.

When prompted for the download, click "Save" and wait for your download to finish.

Install the program, and click on "Run."

Accept the default settings. A command will open and offer an initial installation prompt. Just hit the Enter key, and accept the default settings. To simplify installation, just hit ENTER when prompted on the command line. You can always change settings, by editing the configuration files later.

When your installation is complete
Start the XAMPP Control Panel.

After starting xampp set phpmyadmin password 123123
Steps 2. Download and install JDK
http://www.oracle.com/technetwork/java/javase/downloads/index.html


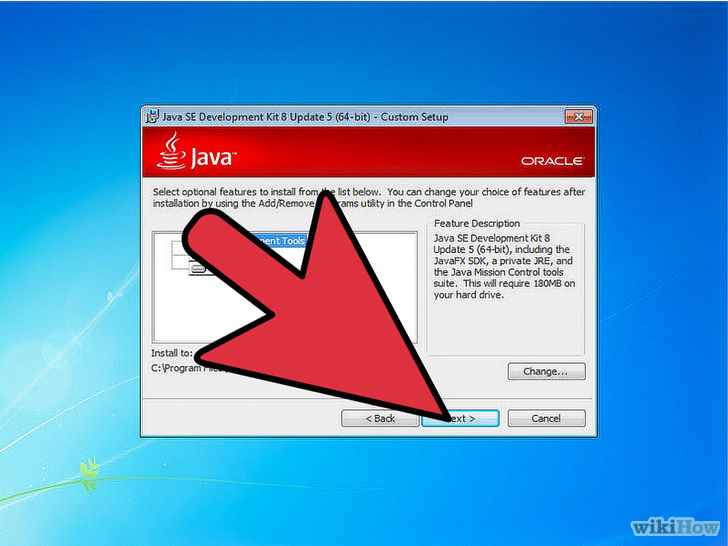

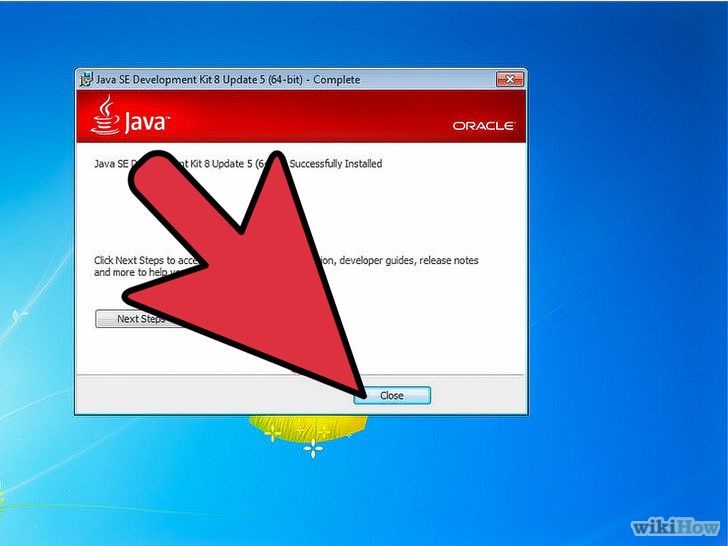
Congratulations! You have taken your first step to starting Java programming.
Steps 3.
Download and install Openfire
http://www.igniterealtime.org/downloads/index.jsp


Go to
openfire installation folder and change folder access security to everyone with
full access


Lunch
phpmyadmin and create a database for
openfire


Go to start
menu and open openfire


Lunch Admin panel

Give your pc/server ip address


Just
following the instruction
Select database mysql:
Database URL : change to jdbc:mysql://localhost:3306/openfire_data
Username : root
password: 123123
Note : this
user name and password is my phpmyadmin username and password


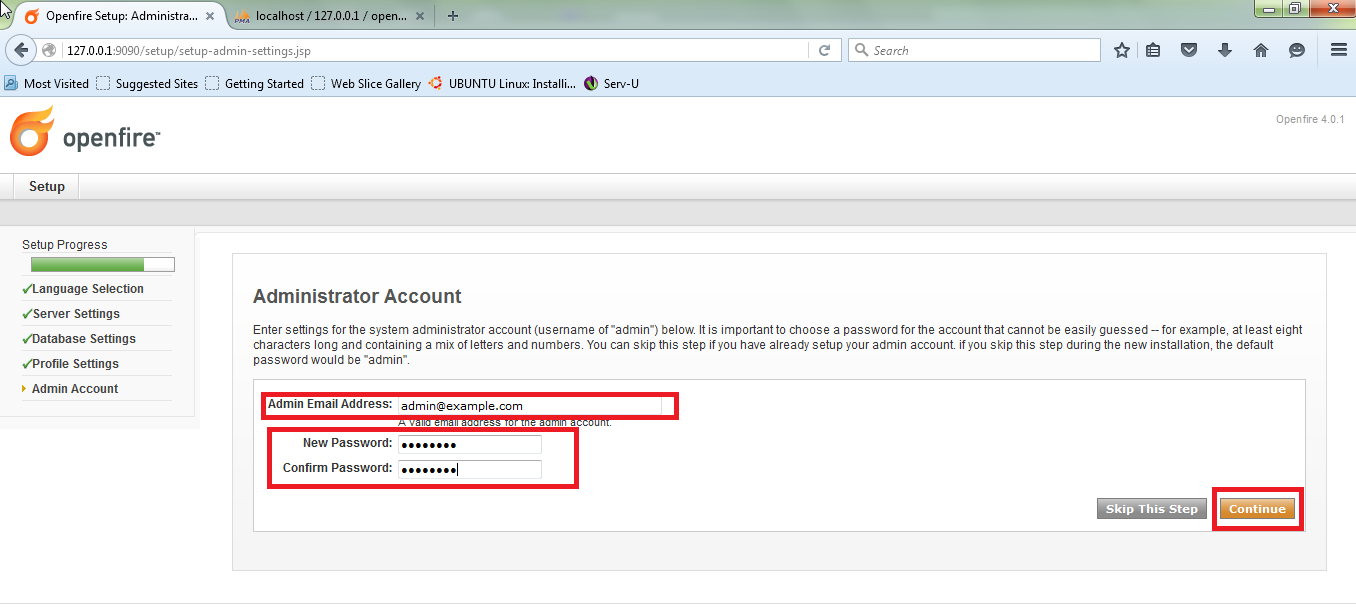
Set the
administrator username and password for login
123123

Login as
admin at http://127.0.0.1:9090 Or
Login as admin at http://pc
ip:9090

User: admin
Password:
123123
After login
configure it Instruction given below.


After
configuration update the plugins.


-----------------------------------------------------------------------------------
After installation openfire Install as
service
-----------------------------------------------------------------------------------
Now close
out the OpenFire GUI, press Quit.
Open a
command prompt and set your working directory as C:\Program Files\Openfire\bin
or whatever your OpenFire install directory is.
Run the
following two commands to install the OpenFire service and to start it:
openfire-service
/install
openfire-service
/start
and
allow port
5222 in firewall
Install
pidgin client in windows or Ubuntu and audiom for mac
add account
like


===============================================
How To get
Old Messages (Chat History)
===============================================
You need to
install Monitoring service plugin to enable message archiving. You may have to
upgrade your openfire service if this plugin is not appearing in your available
plugins section in the admin console.
You will
need to log into the admin console and go to: Server --> Archiving -->
Archiving Settings to enable message archiving.
1.Go into
your admin console (yourserver.com:9090), login and click on the
"Plugins" option
2.Scroll
down the list and find the one called "Monitoring Service", click on
the check mark to install it
3.Once
installed, a new tab will appear under "Server -> Archiving"
4.Once in
the Archiving tab, click on the "Achiving Settings", check the
"Archive one-to-one chats"
5.Now, go
back to the "Search Archive" option, and click on search, DONE!
These messages
are stored in the openfire database in mysql (I used mysql during server setup,
I didn't use the default database). If you want to check it, ssh into your
server:
1) mysql -u
username -p password
2) inside
mysql, type "select openfire;" (I named my databasae for the openfire
server as “openfire")
3) enter
"show tables;", you should see a table called
"ofMessageArchive" and this is the table for storing the
converstations
=====================
Delete chat
history
=====================
delete one
row
DELETE FROM
`ofmessagearchive` WHERE messageID=97
delete
multiple row
DELETE FROM
`ofmessagearchive` WHERE messageID in(96,98,99)
=====================================================================
OpenFire:
Hide all users in the same group from each other?
=====================================================================
http://serverfault.com/questions/191365/openfire-hide-all-users-in-the-same-group-from-each-other
==========================
How to
install a plugin
==========================
There are
three ways to install a plugin:
1. One click
install: You don't need to download a standard jar file to install it in
Openfire. All you need to do is login to Openfire server as admin, go to tab
"Plugins", there you will find "Available Plugins" and you
can one click to install it without downloading anything.
2.
Installing the downloaded Jar/War file (for example Red5): On the very same
"Plugins" tab, below the list which shows installed plugins you can
find "Upload Plugin" field with Browse button...
3. Manual
copy: Login to computer (not through the web browser) which has Openfire
installed, copy jar/war file to openfire's plugin directory (on windows -
C:\Program Files\Openfire\Plugins, on Linux it is usually -
/opt/openfire/plugins).
You need to
restart Openfire if you have chosen the last way (manual copy).
Thank You
0 comments:
Post a Comment